Network Manager の設定
注
ネットワークに DHCP サーバーがある場合、仮想マシンには自動的に IP アドレスが割り当てられるため、このガイドは安全にスキップできます。
このガイドでは、NMTUI (Network Manager Text User Interface) を使用して Single Node VM に静的 IP を割り当てる手順を説明します。
ネットワークで定義された構成および境界に従ってください
-
仮想マシンのネットワークを設定する前に、そのマシンが実行されている ethernet の MAC アドレスを把握しておく必要があります。
-
仮想マシンが使用しているネットワークを確認するには、コンソールで
nmcliを実行します。これをメモしておいてください。 -
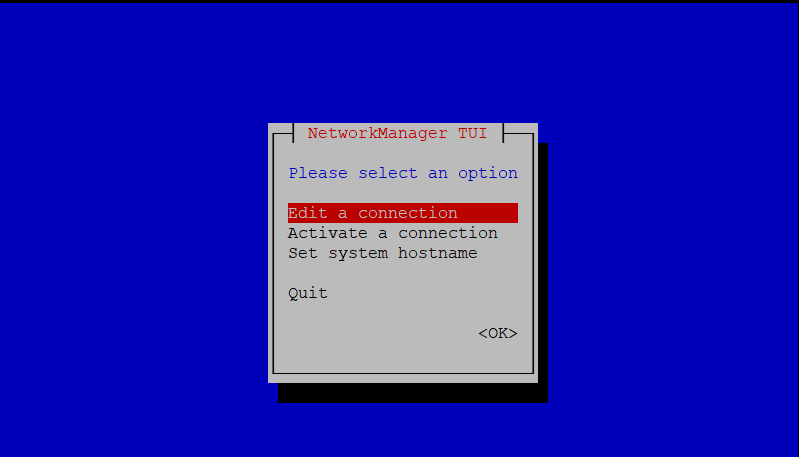
編集するネットワークがわかったら、
nmtuiを実行して Network Manager を起動し、Edit a connection を選択します。
- Based on your configuration requirements:
- Add でネットワークアダプターを追加するか、Edit で接続を編集します。
- この例では、仮想マシンが使用している接続を編集します。

IPv4 CONFIGURATIONの横にあるオプションを選択します。この例では Automatic です。表示されるドロップダウンメニューを使用して、これを Manual に設定します。
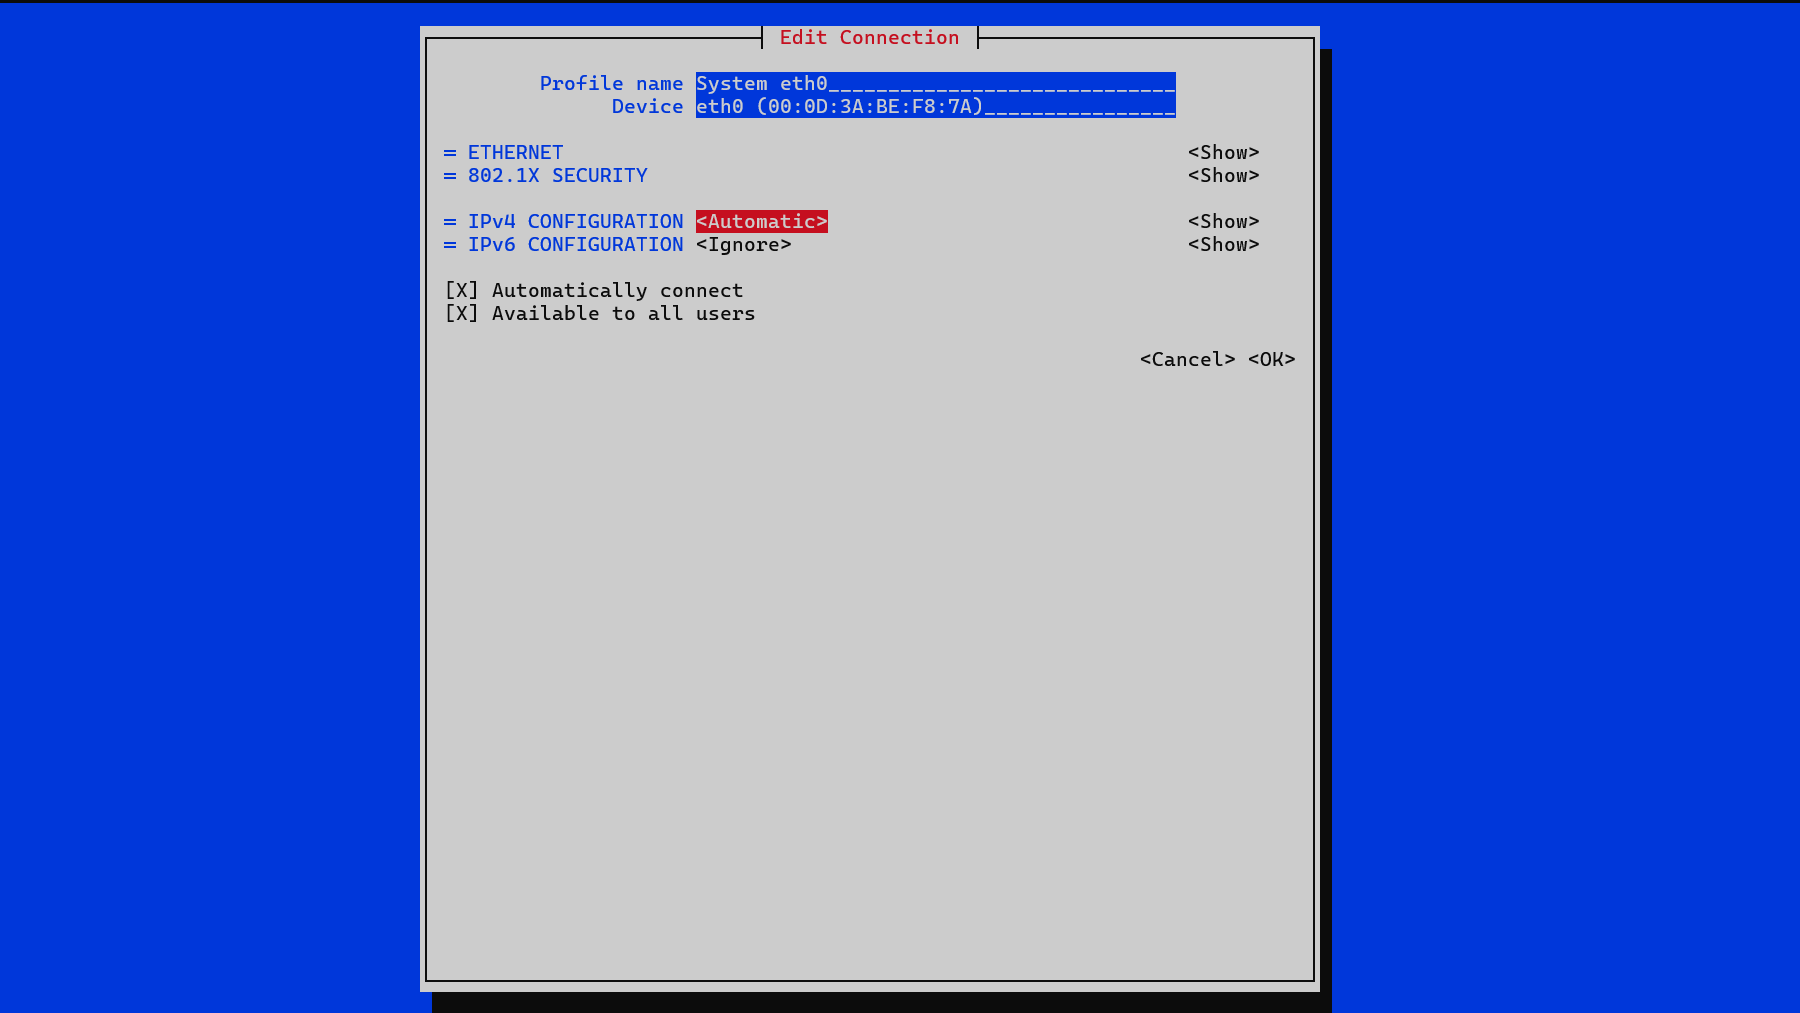

-
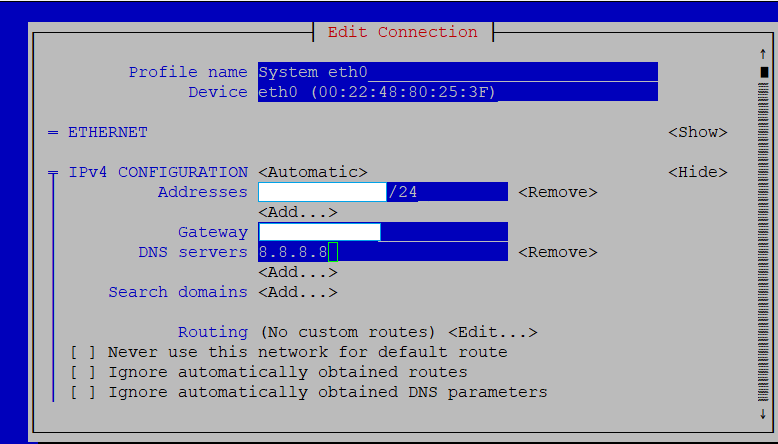
IPv4 設定の Show を選択します。これにより、IP アドレス、ゲートウェイ、DNS サーバーを編集するためのオプションが表示されます。
-
必要な情報を入力し、下部までスクロールして OK をクリックします。
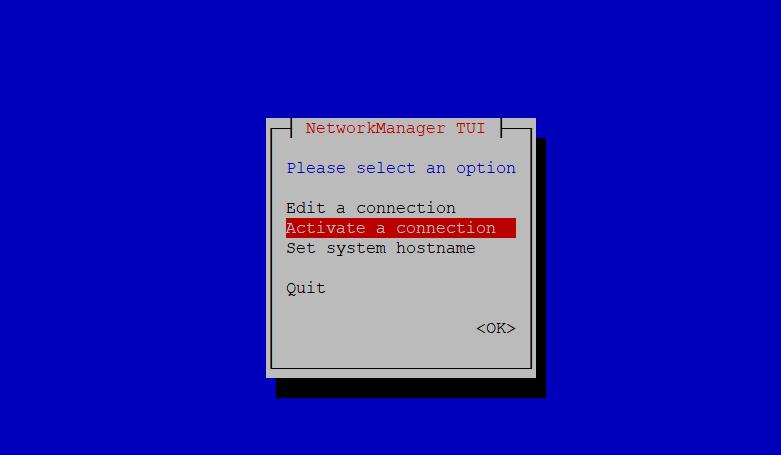
- Network Manager のメイン画面に戻り、Activate a connection を選択して、接続が Activated に設定されていることを確認します。

- Network Manager を終了し、次のコマンドを実行します。
sudo systemctl restart NetworkManager
- 該当する Single Node VM デプロイページの手順を続けて実行します。